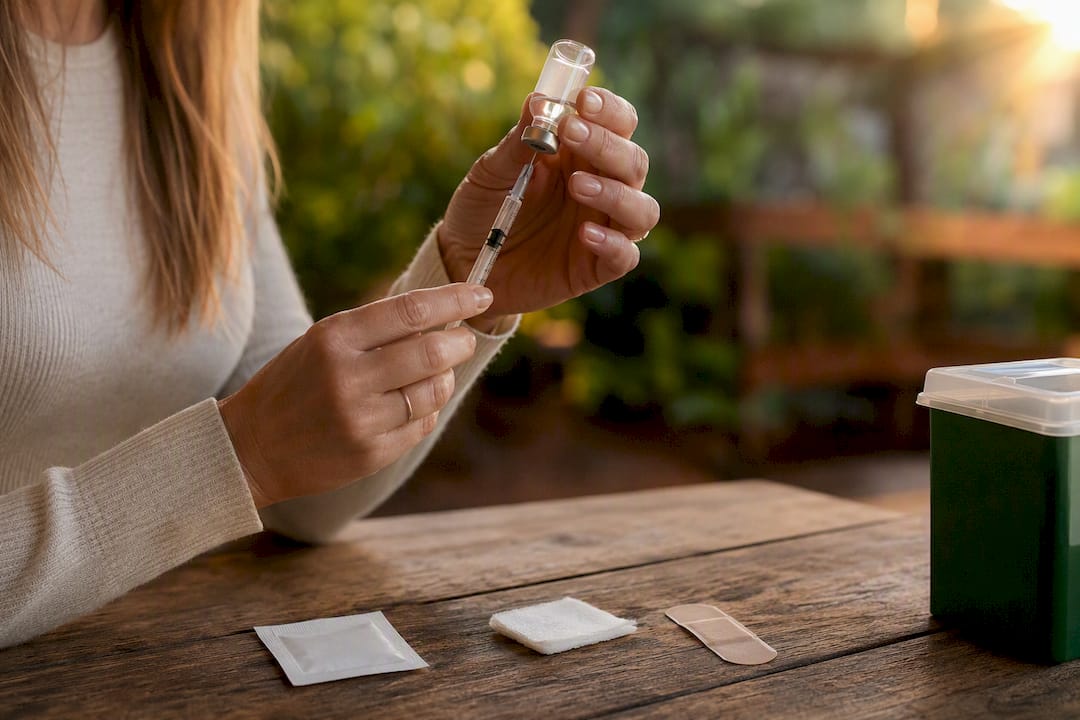
A subcutaneous injection puts medication into the fatty layer between your skin and muscle. Pinch 1 to 2 inches of skin, insert a short needle at 45 or 90 degrees depending on how much you can grasp, push the plunger at a steady pace, withdraw at the same angle, and drop the needle straight into a sharps container. That sequence, laid out by MedlinePlus, is the same one clinicians teach patients managing diabetes, blood thinners, fertility treatments, and GLP-1 medications for weight loss.
Two rules matter more than any other step:
Safe subcutaneous injection technique depends on matching needle angle to your skin pinch, rotating sites consistently, and using a fresh sterile needle every time.
| Point | Details |
|---|---|
| Match angle to pinch | Use 90 degrees for a 2-inch pinch and 45 degrees for a 1-inch pinch to avoid hitting muscle. |
| Stick to approved sites | Inject in the abdomen (2 inches from the navel), thigh, or upper outer arm only. |
| Rotate every injection | Move at least 1 to 1.5 inches from your last site to prevent lipohypertrophy. |
| Skip aspiration | Pulling back on the plunger isn’t needed for subcutaneous shots and adds unnecessary pain. |
| Get clinician support | Oak Longevity pairs prescription access with physician-led dose titration and injection guidance. |
Cross-check technique details with MedlinePlus, CDC, and Cleveland Clinic.
This article is general information, not a substitute for advice from a qualified doctor. Consult a qualified healthcare professional about your own circumstances before acting on anything here.
Before you touch a needle, get everything within arm’s reach. You need your prefilled pen or vial and syringe, a backup needle in case the first one is faulty, alcohol swabs, a piece of gauze, an adhesive bandage, and a sharps container. Running back to a cabinet mid-injection with an exposed needle is how accidents happen.
Check your medication’s storage instructions first. Some injectables need refrigeration and should sit out to reach room temperature before use. Injecting cold medication straight from the fridge tends to sting more.
Wash your hands with soap and water thoroughly, then wipe the injection site with an alcohol swab in a circular motion. Let it air dry.
Pro Tip: Giving the alcohol 10 to 15 seconds to dry completely before you inject cuts down on stinging. Injecting through wet alcohol is one of the most common reasons people say the shot “burned.”
Sit in a stable chair or lie back on a bed. A relaxed, supported position keeps your muscles loose, which matters because tense muscle underneath the fat layer can make the needle feel sharper going in.

Once your supplies are laid out and your site is clean, the actual injection takes less than a minute. Follow this sequence every time:
You don’t need to pull back on the plunger to check for blood before injecting. CDC guidance on injection technique specifically notes that aspiration isn’t necessary for subcutaneous injections and can actually make the shot more painful for no real safety benefit.
If you’re new to this, expect the first attempt to feel awkward. That’s normal. The mechanics get easier once your hands know what a proper skin pinch feels like versus grabbing just skin with no fat underneath.
The site you pick and the angle you use aren’t arbitrary. They’re based on how much fat you can safely lift away from the muscle underneath.
A lot of people find it easier to track rotation with a simple body diagram or a note on their phone rather than trying to remember which side they used last week.
Good technique prevents most problems, but it helps to know what’s normal and what isn’t.
Minor redness, a small bruise, or brief tenderness at the site is common and usually resolves within a day or two. Ice for a few minutes before injecting or a cool compress afterward can ease that. Watch instead for spreading redness, warmth, swelling that keeps growing, fever, or pus. Those signs point to infection and need medical attention, not home remedies.
Pro Tip: If a site stays hard, warm, or increasingly painful more than 48 hours after injecting, call your prescribing clinician rather than waiting it out.
Getting the technique right is only half the picture. The other half is having a clinician who can catch problems before they start, which is where Oak Longevity’s telehealth model comes in. Patients complete an online consult, get evaluated by a licensed physician, and receive prescription tirzepatide or other GLP-1 medication shipped directly to their door.
Clinician oversight matters most during dose titration, when your prescriber adjusts your dose based on how your body responds. Oak Longevity’s physician-led dose management covers storage questions, injection troubleshooting, and site rotation coaching, backed by 24/7 support if something doesn’t look or feel right.
Slow, deliberate breathing before you insert the needle relaxes the muscle under your pinched skin, and that alone reduces discomfort. Some people practice the pinch-and-approach motion with the cap still on before doing it live. A cold pack on the site for a minute beforehand can numb it slightly too. Most people report the first two or three injections feel like the hardest part, and it gets easier fast after that.
— Eric
Reading a step-by-step guide is one thing. Having a licensed physician actually looking at your dose, your medication, and your progress is another. Oak Longevity’s online consult gives you access to GLP-1 and GIP prescriptions like semaglutide and tirzepatide, with medication shipped to your door and physician-led guidance on titration schedules, storage, and site rotation built into the process.

That clinical layer matters most when something feels off, whether it’s a dose that seems too strong, a site that’s reacting oddly, or questions about switching medications. Rather than guessing your way through a manufacturer insert alone, you get a real physician reviewing your case and adjusting course as needed. If you’re ready to start or want to see which medication plan fits your goals, you can explore Oak Longevity’s prescription options and begin the consult process today.